Customize a window with any design and behavior, everything is also animatable.
Content of page:
- Examples
- Translucency
- Setting up translucency
- Chrome-less w/ translucency
- Darkmode
- No titlebar
- General findings
- Snippets
- Gotchas
- Features I wanted
- Possible translucency implementation
- Tasks
- Footnotes
Examples:
Translucency
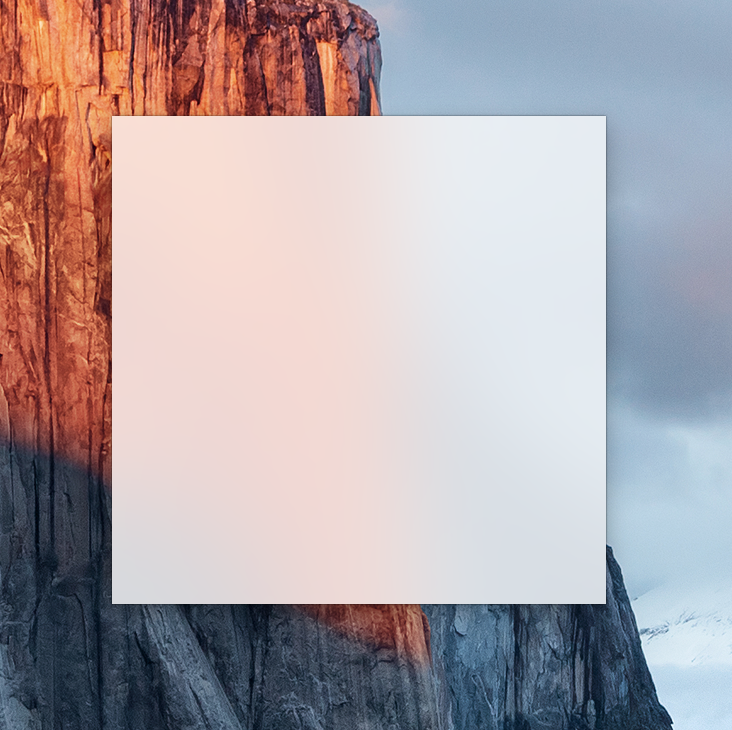
allowsVibrancy is used to change how a view draws when it’s in a view hierarchy that uses vibrancy; ==it doesn’t do the vibrant background itself.== The following translucent materials are from the class: NSVisualEffectMaterial
Dark
Light
MediumLight Example coming
UltraDark

These are abstract materials managed by AppKit and should be used when creating UI that needs to mimic these material types Many of these colors are dynamic and depend on the current NSAppearance set on the view (or its parent view)
PopOver Example coming
AppearanceBased (Maps to Light or Dark, depending on the appearance set on the view) Example coming
Titlebar (Mainly designed to be used for NSVisualEffectBlendingModeWithinWindow) Example coming
Menu Example coming
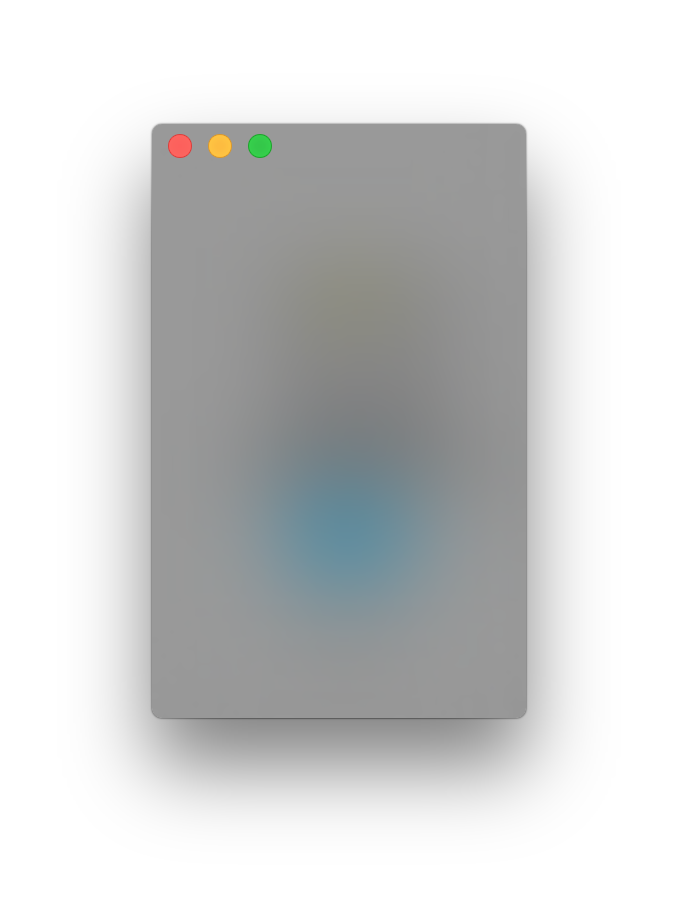
These colors are specific palette colors that can be used to create a specific design or look that doesn’t fit into the above system defined materials
Pre Yosemite solution (private api, will get ==rejected== on app store) here also here
Setting up translucency:
- Set the styleMask of your NSWindow subclass to
NSFullSizeContentViewWindowMask(so that the translucency will also be visible in the titlebar area, leave this out and the titlebar area will be blank) - Set the
self.titlebarAppearsTransparent = true(hides the titlebar default graphics) - Add the code bellow to your NSWindow subclass: (you should now have a translucent window)
let visualEffectView = NSVisualEffectView(frame: NSMakeRect(0, 0, 0, 0))//<---the width and height is set to 0, as this doesn't matter.
visualEffectView.material = NSVisualEffectMaterial.AppearanceBased//Dark,MediumLight,PopOver,UltraDark,AppearanceBased,Titlebar,Menu
visualEffectView.blendingMode = NSVisualEffectBlendingMode.BehindWindow//I think if you set this to WithinWindow you get the effect safari has in its TitleBar. It should have an Opaque background behind it or else it will not work well
visualEffectView.state = NSVisualEffectState.Active//FollowsWindowActiveState,Inactive
self.contentView = visualEffectView/*you can also add the visualEffectView to the contentview, just add some width and height to the visualEffectView, you also need to flip the view if you like to work from TopLeft, do this through subclassing*/
If you want to test a working solution right away drop this github gist in your AppDelegate and you will have a working translucent window
Chrome-less w/ translucency
- Do the steps in the regular translucency setup
- Set the styleMask like this:
let styleMask:Int = NSBorderlessWindowMask | NSResizableWindowMask - self.movableByWindowBackground = true /This enables you do drag the window around via the background/
- You might want to consider adding more complex drag handling. [Dragging code link]
You can also add a custom bezier mask shape to the translucency:
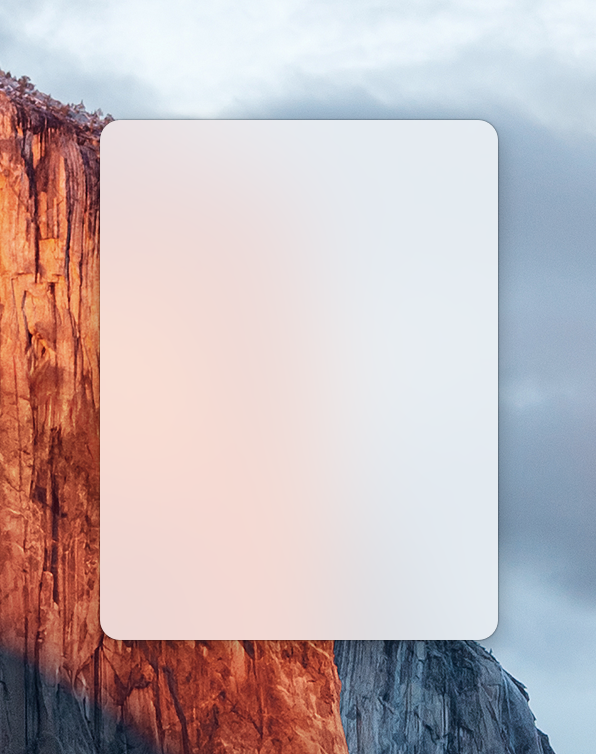
The code to add a custom bezier shape (it also stretches when you resize, also remember to set the visualEffectView as the contentView)
visualEffectView.maskImage = maskImage(cornerRadius: 10.0)/*this line applies the mask to the view*/
func maskImage(cornerRadius cornerRadius: CGFloat) -> NSImage {
    let edgeLength = 2.0 * cornerRadius + 1.0
    let maskImage = NSImage(size: NSSize(width: edgeLength, height: edgeLength), flipped: false) { rect in
        let bezierPath = NSBezierPath(roundedRect: rect, xRadius: cornerRadius, yRadius: cornerRadius)
        NSColor.blackColor().set()
        bezierPath.fill()
        return true
    }
    maskImage.capInsets = NSEdgeInsets(top: cornerRadius, left: cornerRadius, bottom: cornerRadius, right: cornerRadius)
    maskImage.resizingMode = .Stretch
    return maskImage
}
- The above code snippet can be found here
- The Yosemite support for a custom shape with translucency is flaky at best. Problems with jagged edges etc. more on that here
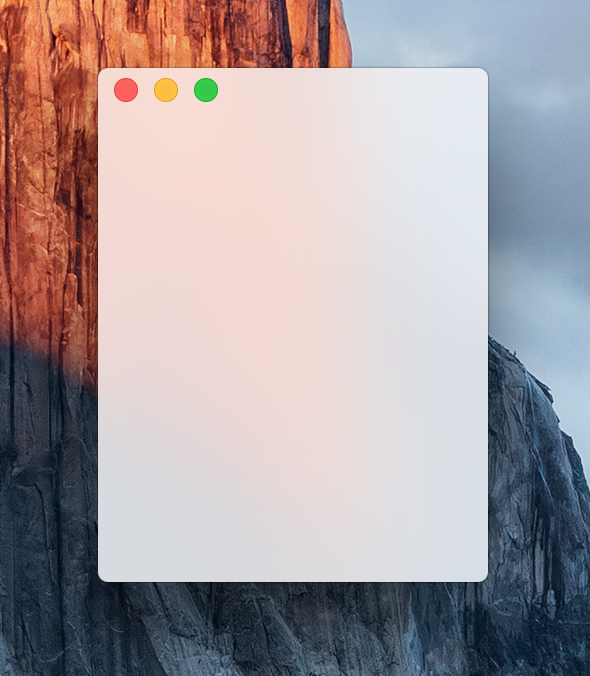
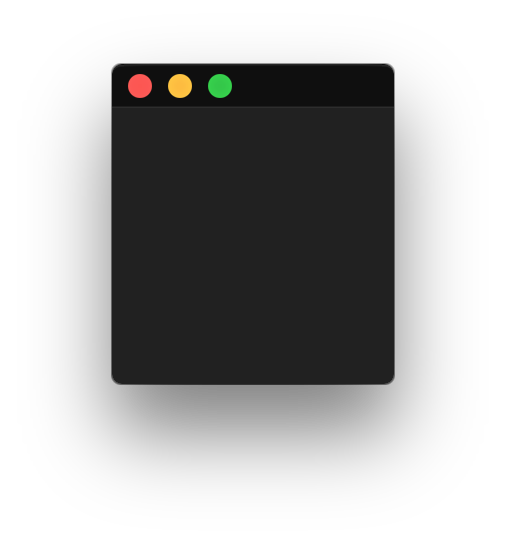
Darkmode:
If you set the self.appearance = NSAppearance(named: NSAppearanceNameVibrantDark) in the NSWindow subclass you get this:
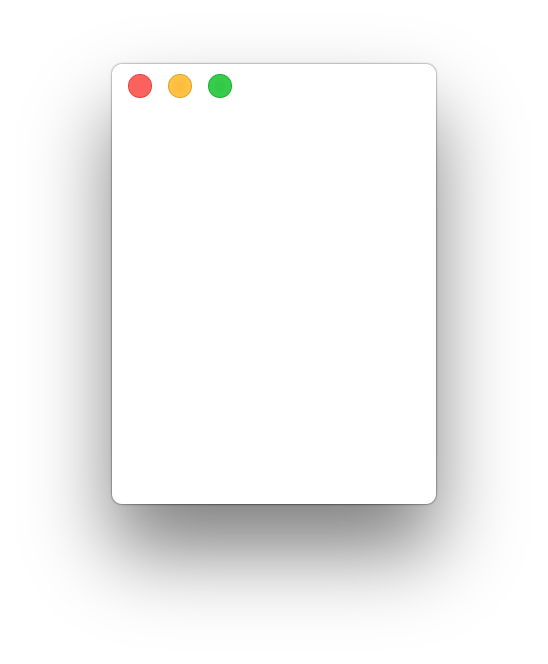
No titlebar
If you dont want the titlebar background design but still want its functionality, dragging, titlebar buttons etc Drop this in your NSWindow subclass: self.titlebarAppearsTransparent = true The result will be: (this is NSAppearanceNameVibrantLight)
General findings:
- If NSTextField becomes buggy when using a chrome-less window: take a look at this article for ideas: here
- Custom dragging the window code: [Dragging code link] and from the apple examples: [Dragging code link 2]
- Custom Shadows on Custom Windows isn’t that straight forward: this link may provide some insight: here
- You may need to call the invalidateShadow() method to update shadow on resize. It invalidates the shadow then ==recreates it based on the window’s shape.==
- Complete open-source chrom-less project: here
- In depth walk through of translucency: wwdc 2014 session 220 here the video is online somewhere if you look
- In depth tutorial on custom shape windows: cocoa with love: here
- How to implement custom behavior for the maximize button related to zooming here
Snippets:
//fullscrreen:
window.setFrame(NSScreen.mainScreen()!.visibleFrame, display: true, animate: true)
Gotchas:
These are styleMasks: (you set them in the init argument):
- NSBorderlessWindowMask (this is default if you don’t provide any others)
- NSResizableWindowMask (A resize bar, border, or box)
- NSTitledWindowMask (A title bar)
- NSMiniaturizableWindowMask (A miniaturize button)
- NSClosableWindowMask (A close button)
Features I wanted:
- Shadow (optional)
- Color with optional transparency
- Resizable (optional)
- Custom titlebar
- Custom close button (optional)
- Custom minimize button (optional)
- Custom maximize button (optional)
- Custom draggable titlebar
- Custom close functionality
- Able to use Translucency (think frosted glass) (light diffusion blur)
- Fullscreen functionality
Possible translucency implementation:
- Your able to add translucency to the Background,
- Add normal graphics above,
- Use any path mask that also stretches,
- many types of translucencies etc.
To implement translucency as a skin:
- You would need to use a special Window with translucency support. Called TranslucentWin. With TranslucentView that would extend the NSVisualEffectView
- The TranslucentView would have the imageMask method that would create the fillet specified in the corner-radius of the css
- You could possibly ==rename TranslucentView to TranslucentSkin==. And have it resolve as a normal skin. This would help getting the css params to the imageMask etc.
- The CSS could have:
fill:translucent(dark /*material*/, behind/*blendmode: behind or within*/, active/*state:active or inactive*/)for rounded corners you would use the regularcorner-radiusproperty - Depending on the outcome of the research into Translucency areas, one could imagine that this approach would only work on the background of a window (Its highly likely that it would be possible though, since many apps does it)
Tasks:
- Make the Container class (for the TitleBar element)
- Make the Section class (for the TitleBar element)
- add round corners
- search for Translucency windows on github, and do another sweep on google. Write a compendium on the atter before you test any code
- Translucent background (You might need to make the (TranclucentSkin for this, try the regular option first though)
- ==Add a TitleBar== element to the Window with Close, Minimize, Mazimize buttonSection
- Figure out how to close, minimize and maximize through method calls
- Hook up the click events of the titlebar buttons to their close, minimize and maximize method calls
- Implement SetResize on the Element and the Skin classes
- ==Make the background graphics== follow the size of the window, (aka onResize() -> setStyle())
- Find vector graphics for the close button (if you cant find this, take a look at the Yosemite intro video, it has close ups)
- Add vector iconography to the titleBar buttons
- Complete the WindowsModifier, WindowsParser, and WindowsAsserter classes
- Do another sweep on google if there is any way you could set the shadow parameters of a window.
- More research is needed on how to separate Translucency areas. The apple docs on this can bring some light in to it.
- Pursue the idea that you can make methods in an extension and have them called from methods in normal methods in a class. This complicates the code but you avoid code duplication. Why not use extensions altogether? Extension methods cant be extended.
- Find vector graphics for the close button (if you cant find this, take a look at the Yosemite intro video, it has close ups)
- Add vector iconography to the titleBar buttons [Dragging code link]: https://github.com/HBehrens/CamHolderApp/blob/master/CamHolderApp/CHDraggableWindow.m [Dragging code link 2]: https://developer.apple.com/library/mac/samplecode/RoundTransparentWindow/Listings/Classes_CustomWindow_m.html#//apple_ref/doc/uid/DTS10000401-Classes_CustomWindow_m-DontLinkElementID_8
Footnotes:
Coming soon…